


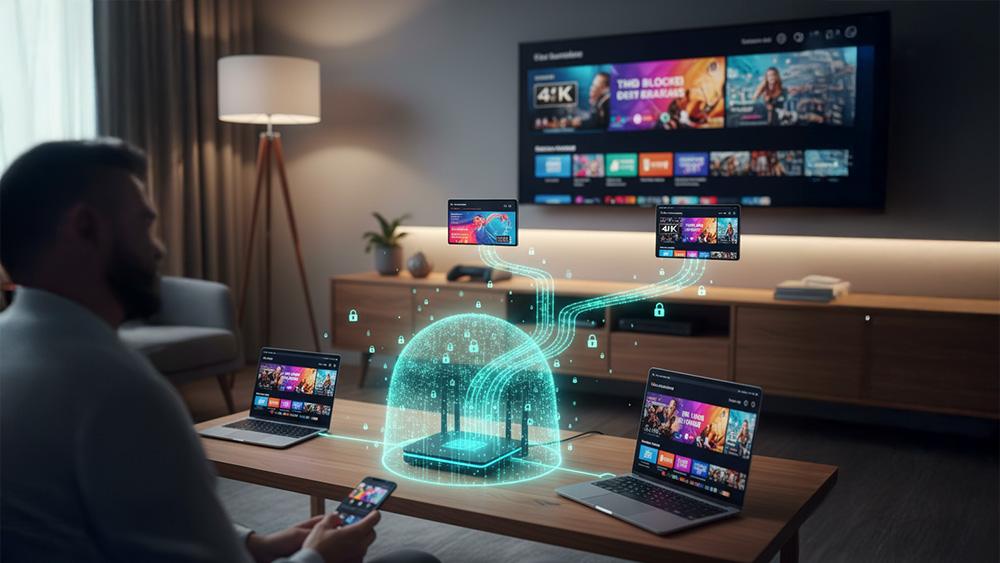
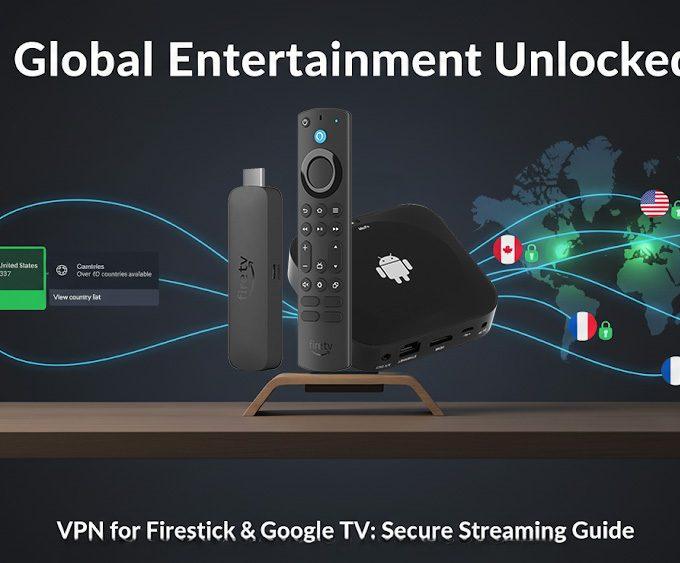
Running a VPN on each device in your home can be time-consuming. Every Firestick, smart TV, laptop, or console needs its own VPN app. By learning how to set up a VPN on a router, you protect all devices at once. As a result, you can bypass geo-restrictions, secure your entire network, and simplify streaming.
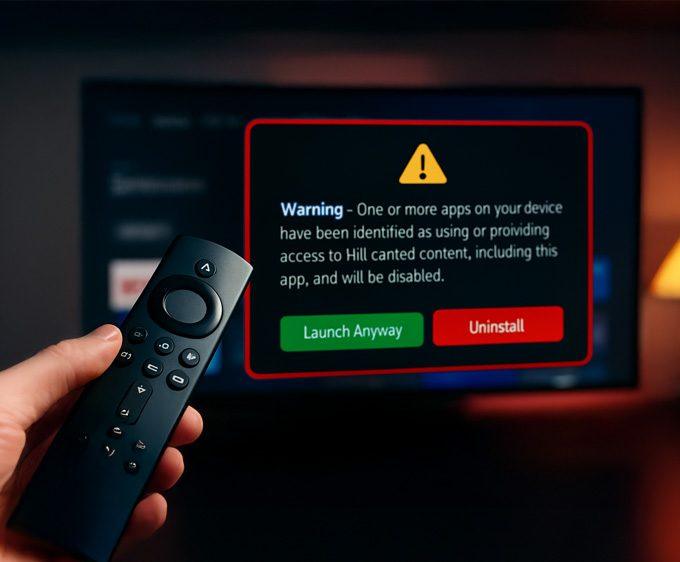
However, if an app refuses to open even with a VPN running at router level, it may not be a network problem — some Fire TV devices now show a new alert when certain apps are flagged. You can see the exact Firestick warning message and the list of affected apps here: 👉 Firestick Blocks Are Now LIVE: The Exact Warning & Full List of Affected Apps.
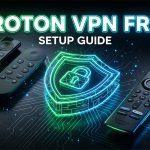
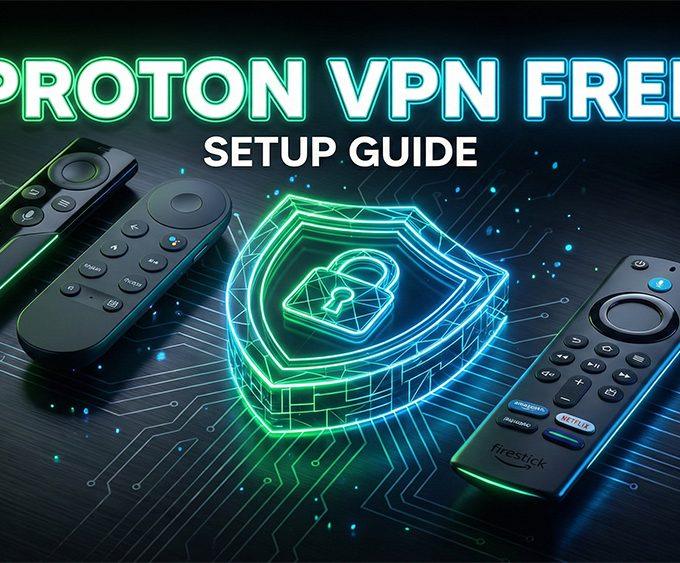
If you also want a simple, device-level privacy option for Firestick or Google TV, our Proton VPN Free setup guide walks you through installing a secure, no-logs VPN directly on your streaming device.
In this guide, we’ll explain everything step by step — from checking your router’s compatibility to uploading VPN files and verifying your connection. In fact, even if you’ve never touched router settings before, there’s no need to worry. Follow along carefully and you’ll have your VPN running at the router level.
For more tutorials like this, explore our Advanced Tips & Tricks section, where we cover VPN setup, device optimisation, and advanced streaming techniques.
Why Use a VPN on Your Router?
- Protect every device: Once connected, all devices (Firestick, Google TV, Roku, phones, laptops, even consoles) automatically use the VPN.
- Bypass geo-restrictions: As a result, stream US Netflix, BBC iPlayer, Hulu, or region-locked apps anywhere.
- Convenience: No more installing and signing into VPN apps on every gadget.
- Privacy & security: Furthermore, all network traffic is encrypted at the source.
What You’ll Need
Before starting, make sure you have:
- A VPN subscription – we recommend NordVPN for its router compatibility and detailed setup guides.
- A VPN-compatible router – ASUS, TP-Link, and Netgear are common options. Not all routers support VPN clients.
- Router login details – usually printed on a label on your router.
- A computer connected to the router (Ethernet or Wi-Fi).
How to Set Up a VPN on Router
Step 1 – Check Router VPN Compatibility
Before you set up a VPN on your router, confirm that your model supports it. Look in your router’s manual or search your model online with terms like “VPN client” or “OpenVPN support.”
- If supported: continue with the steps below.
- If not supported: consequently, you’ll need either a pre-configured VPN router from FlashRouters or a replacement router that supports VPN installation.
In addition, update your router’s firmware (the built-in software). Outdated firmware can block VPN functions or cause connection drops.
Step 2 – Get VPN Configuration Files
Once you’ve chosen a VPN provider, log into your VPN account online and download the router configuration files. For most providers, these are OpenVPN (.ovpn) files. They contain the server addresses, encryption details, and login settings your router needs.
- NordVPN example: download the .ovpn files for your chosen location (e.g., US, UK, Canada).
- On the other hand, some providers include a setup wizard that generates a custom file for your router model. If available, use that option.
Step 3 – Log Into Your Router’s Admin Panel
- On your computer, open a web browser.
- Next, in the address bar, type your router’s IP address. Common defaults are:
192.168.0.1192.168.1.1
- Then, press Enter.
- You should see a login screen. Enter your username and password.
- If you haven’t changed them, they’re usually printed on your router label or in the manual.
Step 4 – Find VPN Settings
Every router interface looks slightly different. Therefore, look for sections called:
- VPN
- Advanced Settings
- WAN Settings
If your router supports OpenVPN, you’ll usually see an option like “VPN Client”. That’s where you’ll configure the VPN.
Step 5 – Configure the VPN Connection
- Select Add Profile or New VPN Client.
- Then, choose OpenVPN.
- Upload the
.ovpnfile you downloaded earlier. - Next, enter your VPN account username and password (your provider will give you these).
- Save the profile.
Some routers may ask you to manually enter server addresses and ports. If so, copy the details from your VPN provider’s instructions.
Step 6 – Connect & Apply
Once your VPN profile is saved:
- Click Activate or Connect.
- After that, wait a few seconds while the router establishes the VPN tunnel.
- Your router may automatically reboot. If it does, reconnect your computer to the Wi-Fi.
Step 7 – Verify Your VPN Connection
- Go back into your router admin panel and confirm the VPN status shows Connected.
- Open a web browser and visit whatismyip.com.
- Finally, check that your IP address now shows the VPN server location (e.g., US if you connected to a US server).
If it does, congratulations — your router VPN is live, and all devices connected to your network are protected.
Advanced Tips
- Secure DNS: In your router settings, set DNS to your VPN provider’s DNS servers to prevent leaks.
- Enable kill switch: If your router and VPN support it, turn this on to block the internet if the VPN disconnects.
- Split tunnelling: Some routers let you choose which devices use the VPN and which don’t. Useful for gaming or smart home devices.
- Performance check: If speeds are slow, try a closer VPN server or a faster protocol, such as WireGuard.
You can also browse our Streaming Guides & How-To hub for step-by-step tutorials, device setup tips, and network optimisation guides.
Alternatives if Your Router Doesn’t Support VPN
- Pre-configured VPN router: Buy one from FlashRouters. These come with VPN settings installed.
- Secondary router setup: Use your current router for VPN, and connect it behind your ISP’s router.
- Windows PC hotspot method: Share a VPN connection from your PC (see our ONN geo-lock guide for instructions).
Wrapping Up
Once you set up a VPN on your router, it’s the easiest way to secure every device on your network. Instead of installing VPN apps one by one, you get automatic encryption and geo-unblocking for your whole household. Ultimately, this gives you peace of mind and less hassle.
For most users, a VPN-friendly router plus a subscription like NordVPN is the best solution. Once configured, you’ll enjoy hassle-free streaming, stronger privacy, and peace of mind.
For more advanced streaming tutorials, visit our Advanced Tips & Tricks hub.
FAQ
Why should I set up VPN on router instead of each device?
It saves time. Every device connected to your router is protected automatically, without needing a separate VPN app.
What if my router doesn’t support VPN?
You can buy a pre-configured VPN router or use the Windows PC hotspot method as an alternative.
Will a VPN slow down my internet?
Sometimes. A powerful router and a fast VPN provider minimise speed loss. Choosing nearby servers also helps.
Can I choose which devices use the VPN?
Yes, if your router supports split tunnelling. Otherwise, all devices will use the VPN connection.


Leave a comment